Users is where you see everyone who belongs to your company in this product, add new people, change their details, open the product as they see it, or remove someone. Only people tied to your company appear in the list.Documentation Index
Fetch the complete documentation index at: https://docs.aisync.link/llms.txt
Use this file to discover all available pages before exploring further.

📋 Main list
Add opens the screen to create a new person.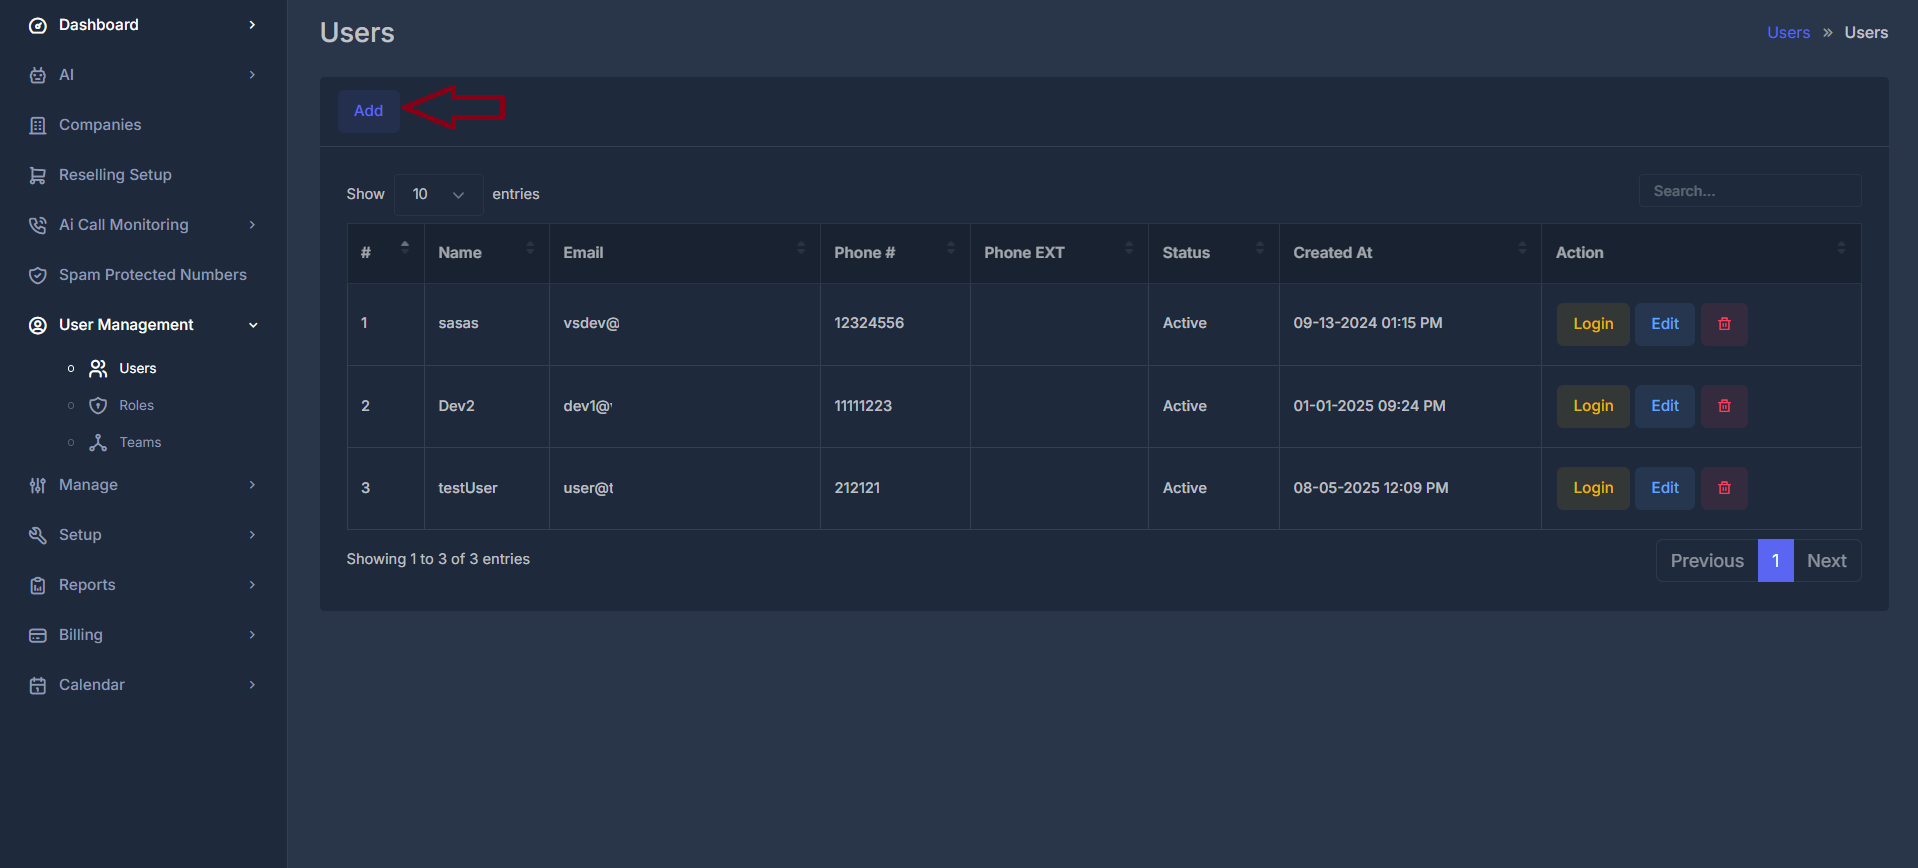
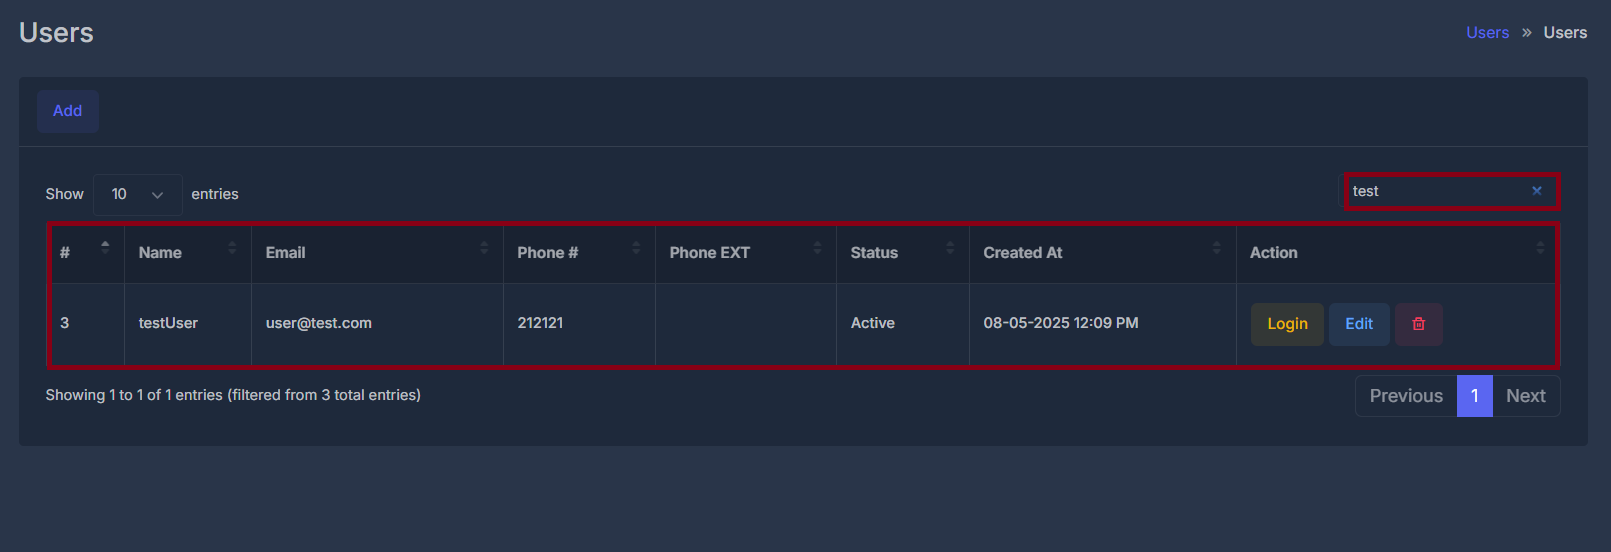
- Change how many rows appear using the “show entries” control (often 10 at a time).
- Find someone quickly using the search box; it filters the table by what you type.
🧾 Columns
| Column | Meaning |
|---|---|
| # | Row number in the list (1, 2, 3…). |
| Name | The person’s name as stored in the account. |
| Their email address (also used to sign in). | |
| Phone # | The main phone number on file for them. |
| Phone EXT | Extra or extension numbers linked to them (when assigned). |
| Status | Whether their account is pending, active, inactive, or suspended. |
| Created At | When this user record was created, shown in your time zone. |
⚙️ Actions on each row

- Login — Asks you to confirm, then opens the product as that user, so you see the same screens and options they do. Use this for support or checking their setup.
- Edit — Opens the form with that person’s details so you can change them.
- Delete — Removes that user. You must confirm. The message explains that many related items (agents, workflows, pipelines, phone setup, templates, lists, teams, and more) can be removed with the user and that this cannot be undone.
➕ Add or ✏️ Edit user (form)
Use Add for someone new, or Edit on a row to change an existing person. Back returns you to the list without using the other buttons.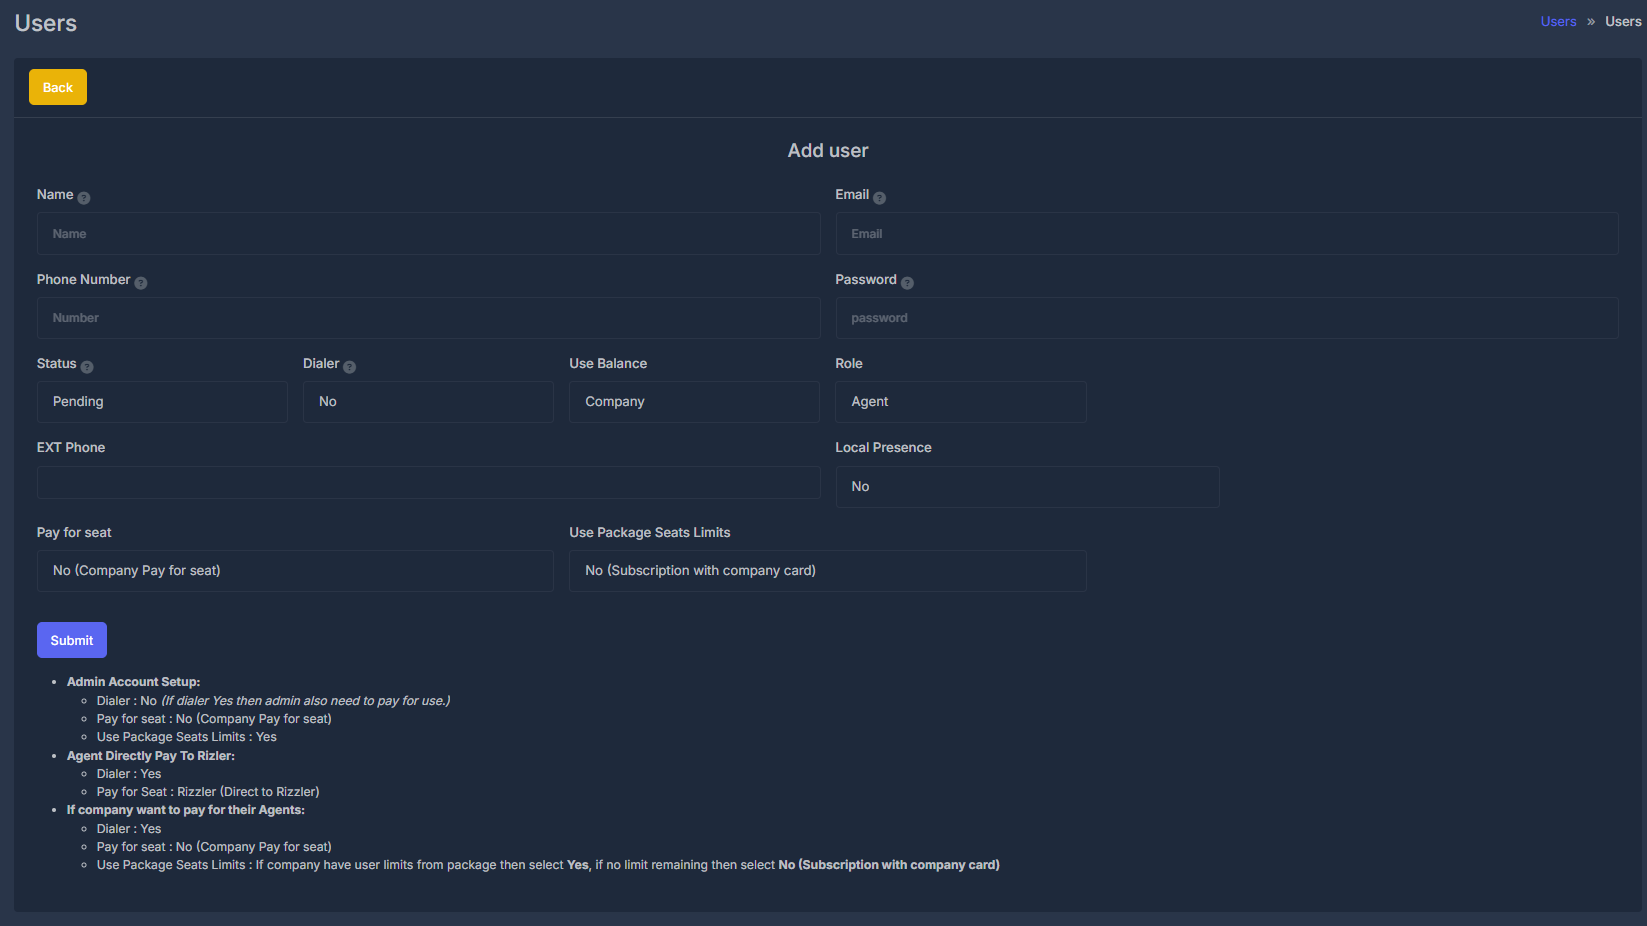

+1234567890 or 1234567890).
🔒 Password
- New user: You must set a password.
- Existing user: Leave this empty to keep their current password. Only fill it in if you want to set a new one.
- Pending — Not fully ready yet.
- Active — Can sign in (subject to the rest of their setup).
- Inactive / Suspended — Generally cannot use the account as normal.
- No (Company pay for seat) — The company pays for this seat in the usual company billing flow.
- Rizzler (Direct to Rizzler) — This person is billed directly to Rizzler (not through the company seat path in the same way).
- Yes — This user counts toward limits in your company package for seats (when dialer is on and this option applies). If the limit is reached, you may see a message that the package seat limit is exceeded.
- No (Subscription with company card) — Uses the other billing path described in the option (company card / subscription style setup).
- A typical admin setup (dialer off, company pays, using package limits).
- An agent who pays Rizzler directly (dialer on, pay to Rizzler).
- Agents the company pays for (dialer on, company pays, and how to set package limits vs card).

🔄 User Management